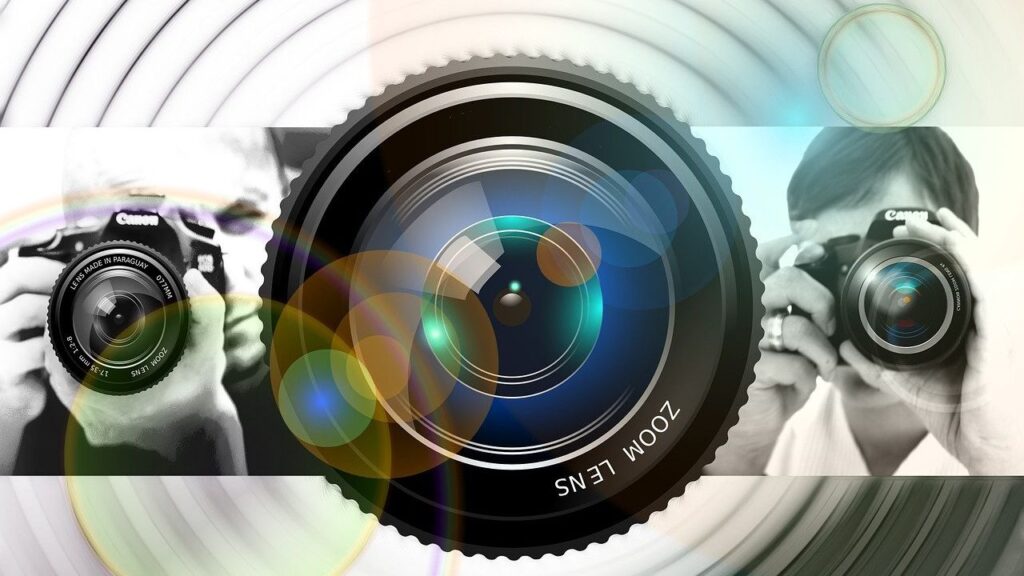
The Photeeq lens flare photography effect has become one of the most discussed and utilized digital tools in both amateur and professional photo editing. Whether you’re creating dreamy portraits, cinematic landscapes, or stylized product shots, lens flare can dramatically alter the feel and focus of your image. Photeeq, once a widely appreciated plugin suite for Adobe Photoshop, stood out for offering some of the most realistic and customizable lens flare effects available.
Even though Photeeq’s plugins are no longer actively developed or supported by the original developers, the concept and impact of their lens flare effect continue to resonate with creatives worldwide. This article provides a complete 1500-word guide on how Photeeq lens flare works, why it matters, and how to replicate or replace it today with modern alternatives while still preserving its signature style.
Understanding the Photeeq Lens Flare Effect
What Is Photeeq Lens Flare?
The Photeeq lens flare effect is a digital simulation of optical flare—a phenomenon that occurs when bright light hits a camera lens and scatters internally, producing visual artifacts such as orbs, streaks, rings, or soft glows. While in the physical world, lens flares are often considered imperfections or distractions, in digital art and photography, they are frequently used intentionally to enhance mood, focus, and emotional storytelling.
Photeeq’s version of this effect stood out because it was designed with photorealism in mind. The plugin dynamically detected bright spots in your image and generated natural-looking flares based on lens shape, light angle, and intensity. The result was a highly polished, professional effect that elevated photographs and illustrations alike.
Why Use Lens Flare in Photography?
Using a lens flare—especially a finely tuned one like Photeeq’s—can dramatically influence your final image by:
-
Adding cinematic quality to still images.
-
Directing viewer focus toward the subject.
-
Enhancing mood and depth, especially in backlit or golden-hour photos.
-
Creating warmth and atmosphere in otherwise neutral or cool scenes.
-
Adding realism to digital composites or visual effects work.
Photeeq made this accessible without needing professional cinema lenses or extreme lighting conditions.
Key Features of the Photeeq Lens Flare Plugin
Even though it is no longer officially available through Adobe or Photeeq’s website, the plugin offered a host of features that set it apart from other flare tools on the market:
-
Customizable flare presets like Sunburst, Soft Glow, Blue Halo, and Rainbow Streak.
-
Editable flare elements, allowing photographers to change size, opacity, and light position.
-
Non-destructive layer integration, which kept your edits flexible and reversible.
-
Color temperature matching, enabling the flare’s tone to blend seamlessly into your scene.
-
Lens simulation based on physics, not filters—replicating how light actually behaves inside a lens.
-
Interactive preview controls, which made adjusting the effect intuitive.
All of this helped make Photeeq an ideal plugin for professionals looking to bring artistic style to their photography without sacrificing realism.
How to Use Photeeq Lens Flare (Or Replicate It)
Although the original plugin may be hard to find today, similar workflows can be followed using legacy installs, Photopea, or alternatives like Adobe Photoshop’s built-in tools. Here’s how to apply lens flare in the spirit of Photeeq:
Step-by-Step Workflow in Photoshop
-
Duplicate your layer: Start by copying the original image layer.
-
Select light source: Identify where the natural or intended light source is in the image.
-
Apply flare effect:
-
If using Photeeq: go to
Filter → Photeeq → Lens Flare. -
If not, use
Filter → Render → Lens Flareand tweak positioning.
-
-
Adjust opacity: Reduce the flare layer opacity to make the effect more subtle.
-
Mask undesired areas: Use a soft brush to remove flare from sensitive areas like faces.
-
Color correct: Match flare hue with the rest of the lighting using
Hue/SaturationorColor Balance.
This method gives you maximum control over flare integration, ensuring that the final image feels cohesive and polished.
Creative Use Cases for Photeeq Lens Flare
The versatility of the Photeeq lens flare made it an essential tool for artists and photographers working across genres. Here’s where and how it shines the most:
Portrait Photography
Use subtle circular flares to highlight rim lighting or backlit hair. It adds emotion, intimacy, and softness—especially in natural light settings.
Landscape Photography
Enhance sunrises and sunsets with dramatic flares that emphasize direction and time of day. This works exceptionally well with reflective water bodies or mountainous terrains.
Urban and Street Photography
Simulate streetlamp glows or passing headlights for added realism. Flare can help mimic motion and depth in still images.
Automotive and Product Shots
Highlight metallic curves with linear or ring flares. It brings a commercial, editorial edge to catalog-style photos.
Cinematic and Thematic Edits
Create sci-fi, futuristic, or dreamy atmospheres by combining multiple flare elements with color grading and vignettes.
Tips for Using Lens Flare Effectively
While flares are beautiful, they can easily overwhelm a photo. Keep these tips in mind:
-
Don’t overuse them: One well-placed flare is more effective than multiple.
-
Always align with a light source: Random placement breaks realism.
-
Check skin tones: Flares can cast odd colors on faces.
-
Use layer masks: This helps maintain control over flare spread and intensity.
-
Watch the story: Ensure your flare adds to the narrative and doesn’t distract.
Common Mistakes to Avoid
Here are some missteps to steer clear of:
-
Using high-opacity flares over important details like eyes or branding.
-
Clashing color temperatures between your flare and your ambient lighting.
-
Applying lens flare in indoor scenes where there’s no logical light source.
-
Over-editing—which can make your work look less professional.
Subtlety is key. Done right, lens flares guide the eye and stir emotion. Done wrong, they simply look like special effects pasted on top.
Modern Alternatives to Photeeq Lens Flare
Although the Photeeq plugin is outdated, several modern tools offer similar or even enhanced capabilities:
-
Lightroom + Photoshop Combo: Built-in flare presets and manual brush techniques can recreate the effect.
-
Nik Collection’s Analog Efex Pro: Features retro and modern lens flares with realistic textures.
-
Optical Flares by Video Copilot (for video): Also used for static overlays in photography.
-
Lens Distortions Mobile App: Offers mobile photographers premium flare overlays for social content.
-
Photopea (browser-based): Offers flare tools similar to Photoshop, compatible with PSD layers.
Many free and paid PNG flare packs are also available online. These can be dropped into any editing software and blended using screen or lighten modes.
Using Photeeq Lens Flare for Branding and Visual Identity
Designers often used Photeeq-style lens flares to elevate branding and storytelling. Here’s how:
-
Brand visuals: Add soft lens flares in hero images to suggest authenticity and modernity.
-
Social media: Use flare to evoke a cinematic or influencer-friendly vibe.
-
Album covers or book art: Flares can add narrative energy and mood.
With strategic use, even subtle flare helps communicate emotion, tone, and intention—all essential in branding.
Conclusion: Why Photeeq Lens Flare Still Matters
The Photeeq lens flare photography effect may be from an older era of editing plugins, but its principles continue to influence modern visual aesthetics. Its realistic flares offered depth, drama, and cinematic appeal, showing us that light—when used intentionally—can transform an image entirely.
Even without the original plugin, today’s artists can emulate the same style using Photoshop, Photopea, or overlay packs. What matters most isn’t the tool, but the creative intent behind it. When applied thoughtfully, lens flare becomes more than an effect—it becomes a storytelling device.